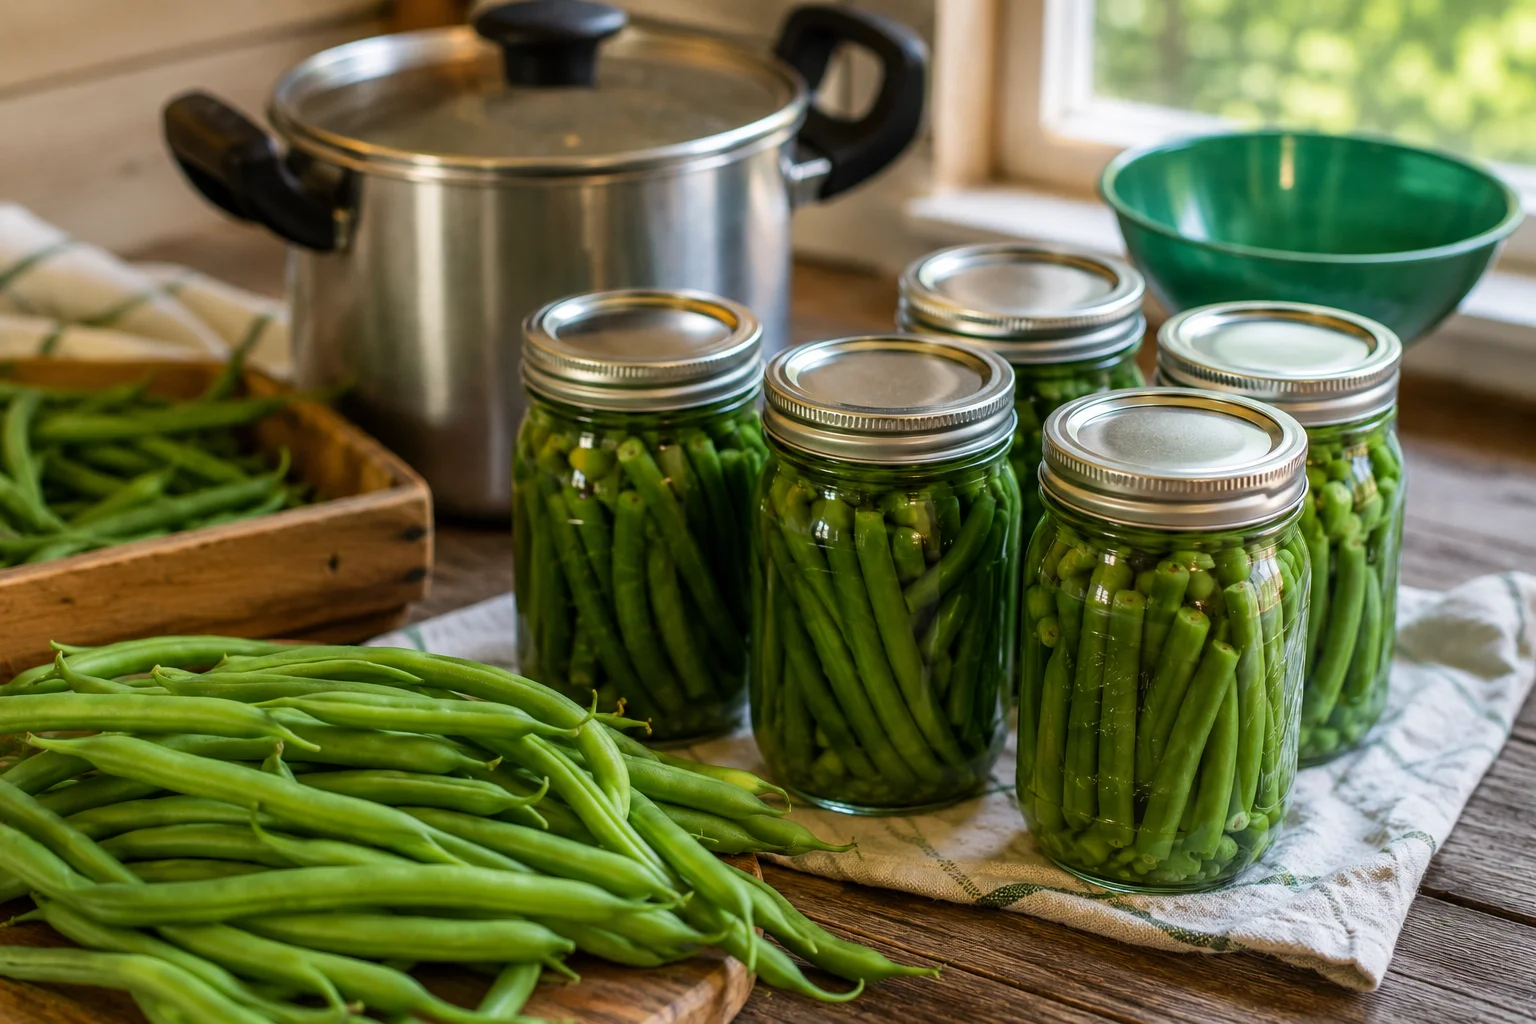
Explore the world of canning green beans, an age-old practice that will give you the satisfaction of enjoying summer’s freshness throughout the whole year. This article will help you understand the basic procedures and methods needed in order to have your pantry filled with homemade canned green beans.
Understanding Canning
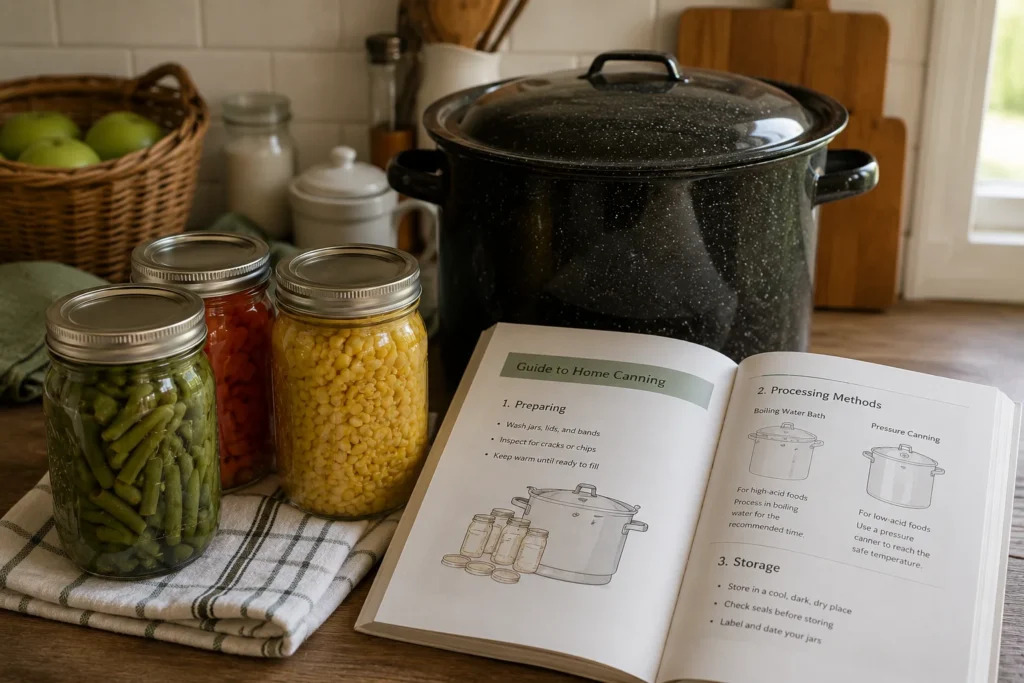
The canning process of food is very unique in that it involves placing the food products in glass jars which are then subjected to very high temperatures such that any living thing within is killed while enzymes inactivation takes place. Canning is done under vacuum condition that ensures that the food does not get contaminated again. The need for canning is very important especially when dealing with low acid vegetables such as green beans.
The Importance of Canning
The significance of canning goes beyond just having food available but also includes food security and self-sufficiency as well as preserving the freshest foods that you can enjoy throughout the seasons. Canning green beans will give you the opportunity to preserve all the nutrients and delicious flavors at their freshest. For anyone new to the art of canning, knowing the reasons why it is done can be motivational enough to follow safe canning procedures.
Canned Green Beans vs. Fresh Green Beans
Although there isn’t much that can beat the satisfying crunch of freshly picked green beans from your garden, well-canned green beans serve as a great and delicious substitute. Fresh green beans spoil easily and are highly perishable, while canned green beans can be stored for months or even years without any need for refrigeration. However, although the process of canning affects their texture – making them softer than fresh green beans – it makes them very flavorful.
Types of Canning Methods
There are two basic types of canning, which are water bath canning and pressure canning. It is very essential to know about these two different techniques in order to preserve your food in a safe way.
| Canning Technique | Food Items Suitable for Canning |
| Water Bath Canning | High-acid foods (fruits, pickles, tomatoes with added acid) |
| Pressure Canning | Low-acid foods (e.g., green beans) |
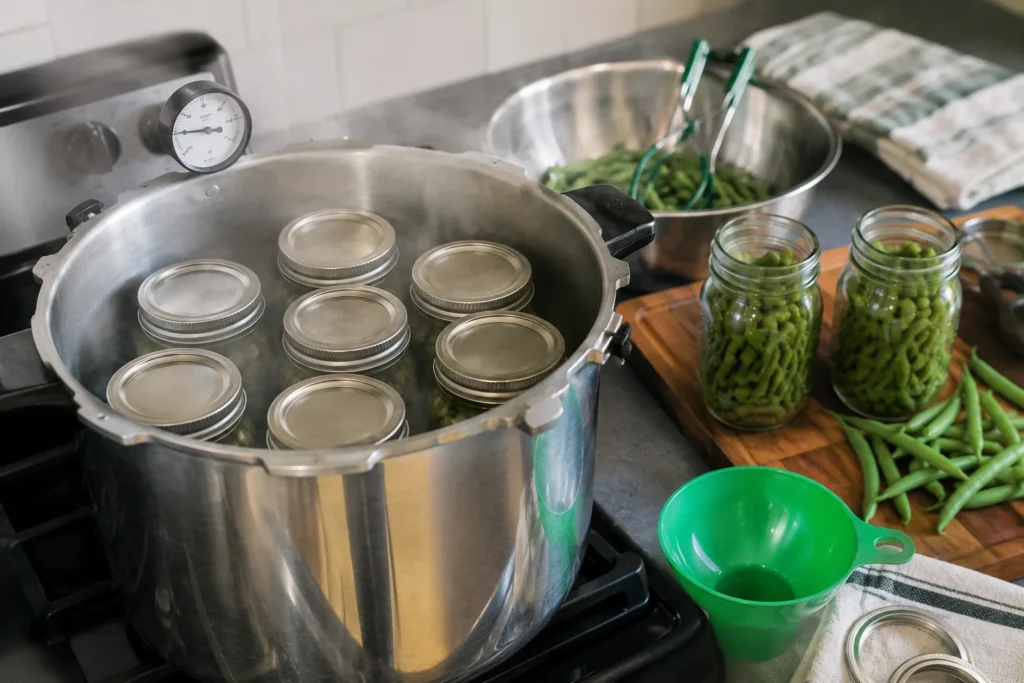
Green beans are examples of low acid food items. Pressure canning is the only method that is used to can such food items. Canning of green beans through water bath method poses a great risk to health. Thus, pressure canner becomes essential in this regard.
The Canning Process for Green Beans
Preparing Fresh Green Beans
Green bean canning should start with thorough preparation of the fresh green beans that you plan to can. Choose fresh and tender green beans which do not have any discoloration or other defects. Rinse them under cool running water to clean them from any impurities. Then snap the ends of the beans, an operation commonly known as snapping or stringing. After that, there are several possibilities for preparing them:
• Keep them whole
• Slice them into 1-inch lengths
• French cut them
The choice is up to you and your preferences or the instructions of the recipe you are going to follow. Preparation is crucial for creating quality home-canned green beans.
Choosing Between Raw Pack and Hot Pack
As you begin your process of canning green beans, you will find that there are two major types of pack techniques: the raw pack and hot pack. Both types are equally safe if done using a pressure canner.
| Method | Description | Characteristics |
| Raw Pack | Filling jars with raw, unprocessed green beans followed by boiling water. | Faster; more shrinkage occurs in the beans, making the packed jars less full. |
| Hot Pack | First, blanching green beans in boiling water and then packing them in jars. | Preserves more texture and makes the packed jars fuller. |
Steps in the Canning Process
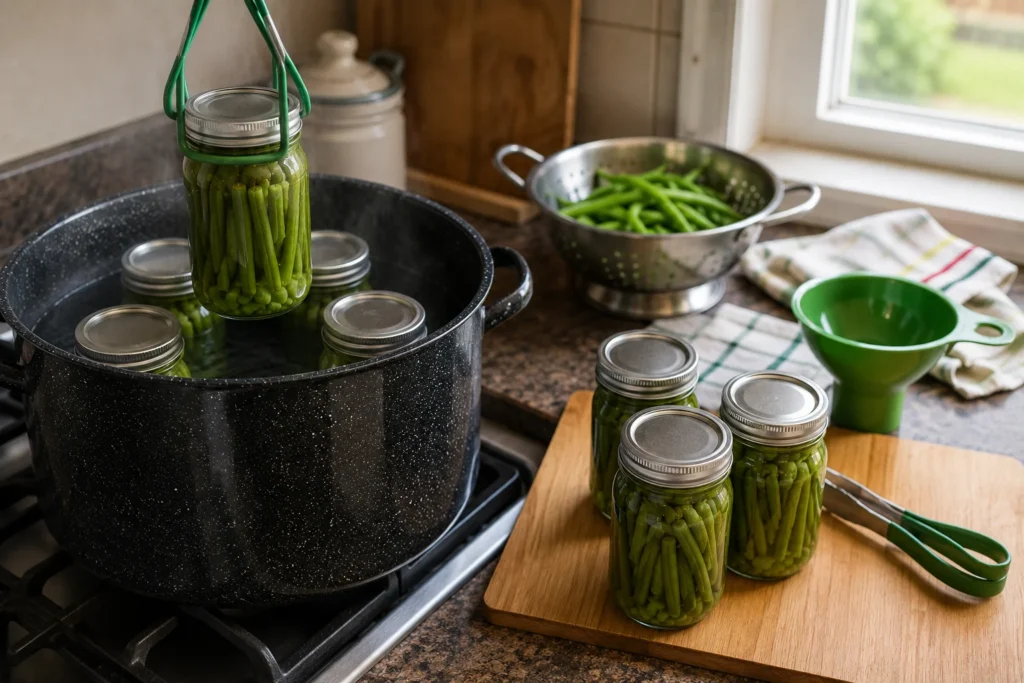
After your fresh green beans are ready and you have determined the packing technique you will use, the actual process of canning starts. The whole process should be done carefully while observing safe canning procedures, especially when working with low acid foods. Adding 1 teaspoon of canning salt to each quart jar (½ teaspoon to each pint jar) is done after packing your jars (whether pint or quart jars). Filling the jars with boiling water by leaving 1 inch headspace comes next. Proper headspace is very important because it is the space left unfilled to avoid spillage and to ensure proper seal formation. Wiping the rims of the jars is then done before applying new lids and rings to each of the jars, making sure that they are finger tight. Finally, the jars are put inside the canner in such a way that the canner load, which must be 7 quarts (more or less), is correctly arranged.
Canning Recipes and Techniques
Classic Canning Recipe for Green Beans
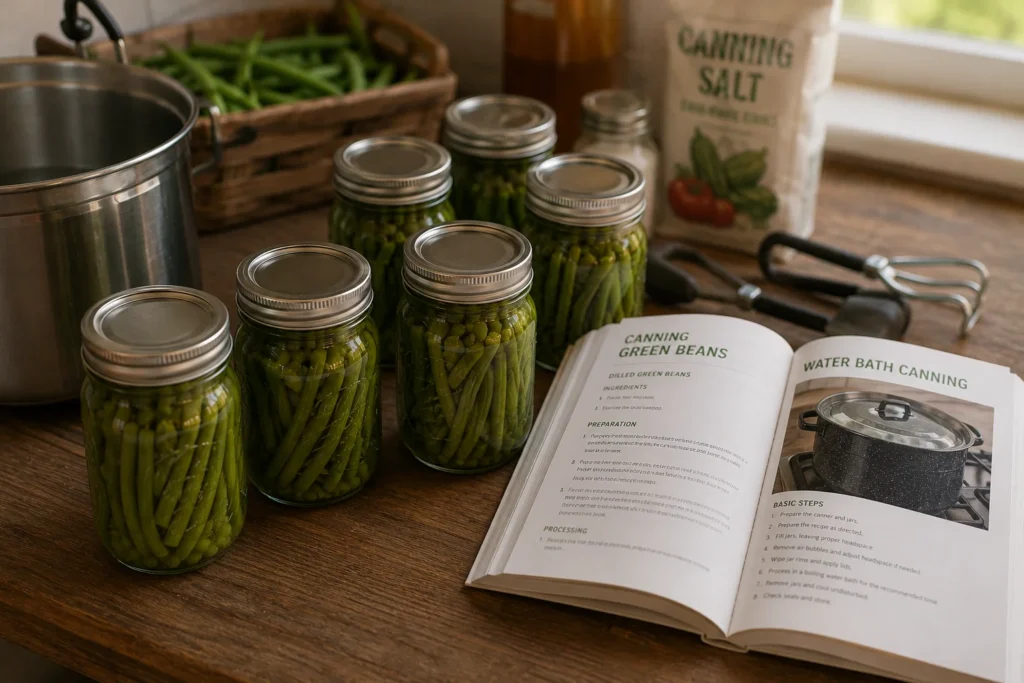
Setting out to can the fresh green beans with a traditional recipe can be a fulfilling process that gives you home canned green beans to relish throughout the year. To start with this important canning recipe, you would require around 2 pounds of green beans for each quart jar or 1 pound per pint jar. Start by processing the green beans by thoroughly washing and snapping the ends off of them. Cut them to your desired length that is generally 1 to 1 ½ inches. Using either the raw pack method or the hot pack method, make sure to sterilize your jars first. In case of pressure canner, add 1 teaspoon of canning salt to each quart jar (1/2 teaspoon to pint jars) after adding the green beans to the jar and cover it with boiling water, leaving an inch headspace.
Summer Canning Recipes with Green Beans
With the abundance of summer products at hand, it is the best time to preserve some green beans using various interesting canning recipes. Apart from the traditional canning process, you can add additional herbs or spices to your homemade green beans for canning. For example, you can throw in some pickling spices or a couple of cloves of garlic in every jar with green beans to get that extra zest. One more popular summer canning recipe implies preparation of dilly beans, which means adding fresh dill, garlic, and even a dash of red pepper flakes to the jars with green beans. All these varieties are usually canned under pressure, but you should always be careful and look for canning recommendations in case you plan to use different ingredients.
Using Home-Canned Green Beans in Meals
With the abundance of summer products at hand, it is the best time to preserve some green beans using various interesting canning recipes. Apart from the traditional canning process, you can add additional herbs or spices to your homemade green beans for canning. For example, you can throw in some pickling spices or a couple of cloves of garlic in every jar with green beans to get that extra zest. One more popular summer canning recipe implies preparation of dilly beans, which means adding fresh dill, garlic, and even a dash of red pepper flakes to the jars with green beans. All these varieties are usually canned under pressure, but you should always be careful and look for canning recommendations in case you plan to use different ingredients.
Best Practices for Home-Canned Green Beans
Storage and Shelf Life
It is very important to store your pressure canned green beans in proper ways so as to ensure the safety of your product and preserve them. After the successful pressure cooking and cooling of your beans, remove the rings, clean the jars, and then label them with the date and content of your canned product. It is advised that you should store your pressure canned green beans in cool and dry places where the temperature is maintained at 50-70°F or 10-21°C. Avoid storing your canned green beans in places which have exposure to heat or direct sunlight as this may affect the quality of your beans. The canned green beans can be properly preserved up to 12-18 months or even beyond that in some cases for many years. Make sure that you check the seal on the lid of your jar and avoid eating the contents of the jar in case of unsealed lids.
Safety Tips for Canning
It is essential to follow safety guidelines while canning strictly, especially for low acid foods such as green beans. It is imperative to pressure can all the green beans because the boiling process is not sufficient for destroying any dangerous bacteria present in the food. Ensure that the pressure canner is operational and that the gauge is properly calibrated annually. The processing time should be followed according to the recommendations without fail. The new lids must be used in every canning session for achieving proper sealing while making sure that the headspace is left at 1 inch to avoid spilling and achieve vacuum. If one is new in canning, it will be helpful to go for a canning class or read detailed canning guide.
Common Mistakes to Avoid
In order to successfully and safely produce home canned green beans, it is very important to know about some errors that one must avoid while doing the canning. For instance, one such common mistake is not using a pressure canner for canning green beans since green beans are a low acid food, and hence require high temperatures for proper preservation. Shortening the process time is another mistake that one should avoid since it decreases the safety level. Another error is over-tightening the jar rings, and thus the jars do not get properly sealed. This prevents proper venting of the jars. Failing to clean the rims of jars is another mistake since it affects the sealing process. Lastly, canning lids should not be reused since their sealing compound is only for single usage.